Follow Me On Social Media!
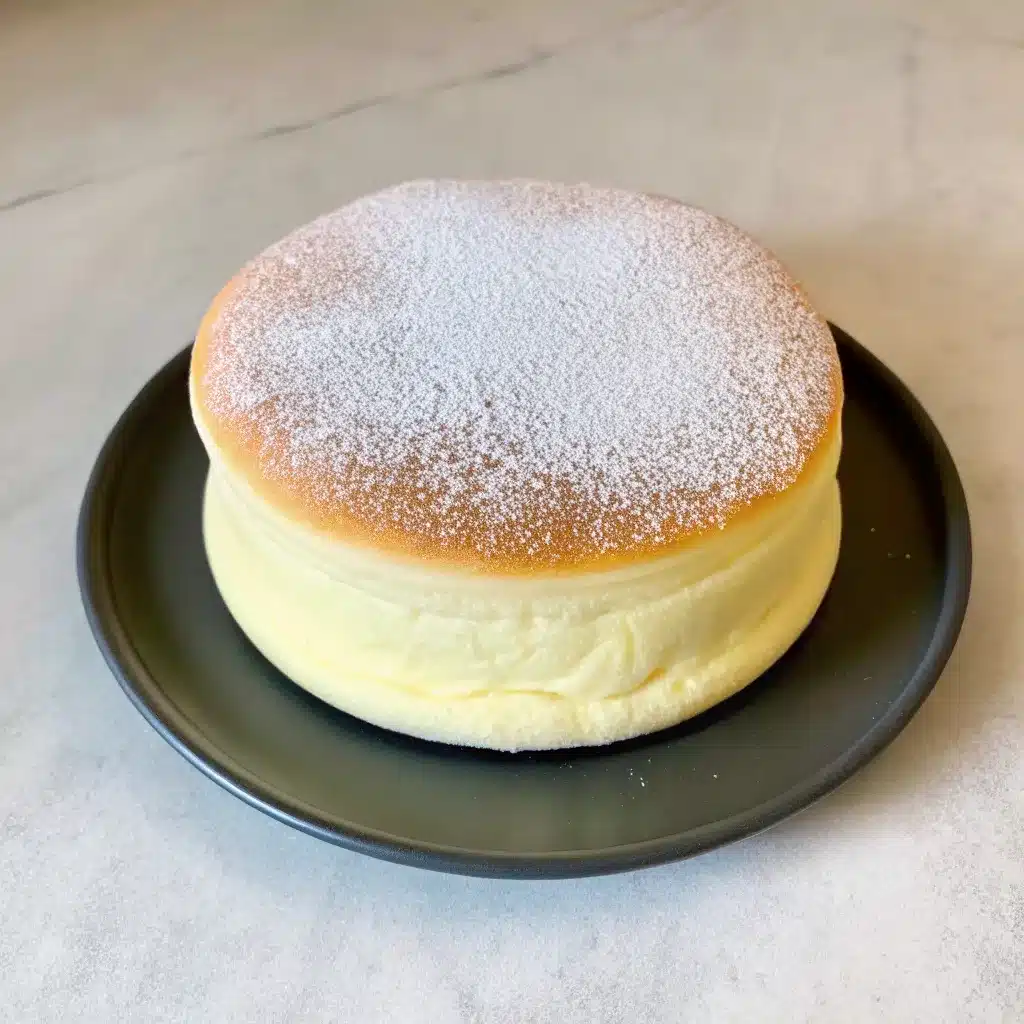
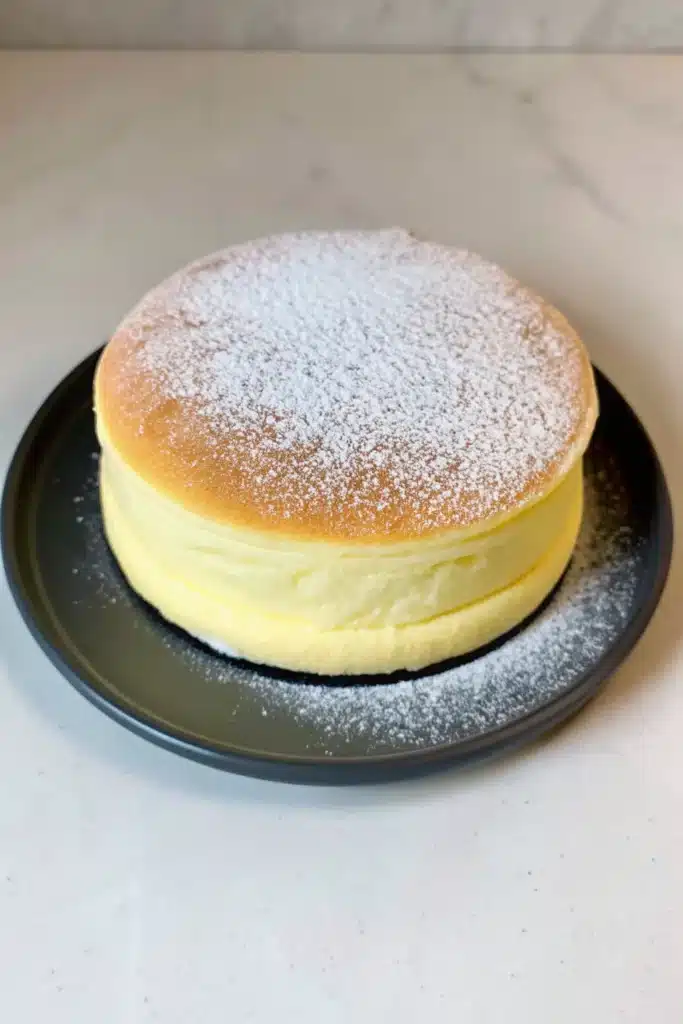
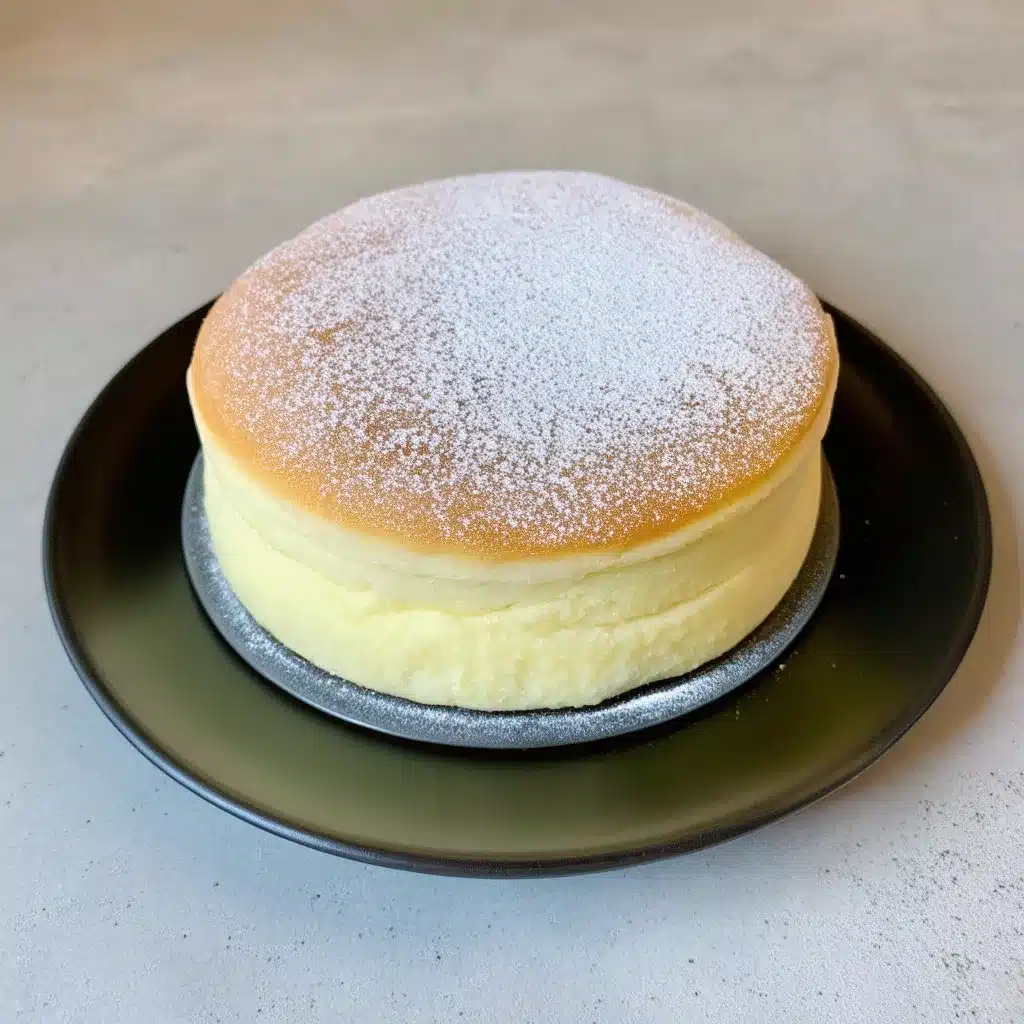
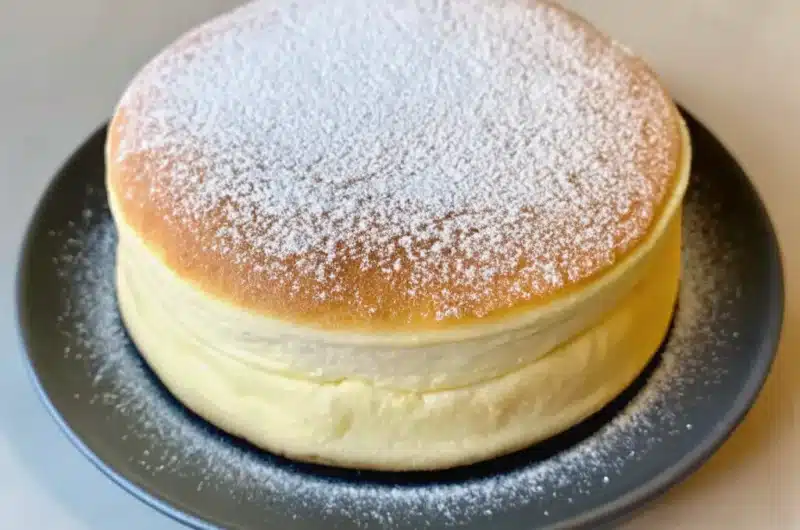
2 Ingredient Japanese Cheesecake
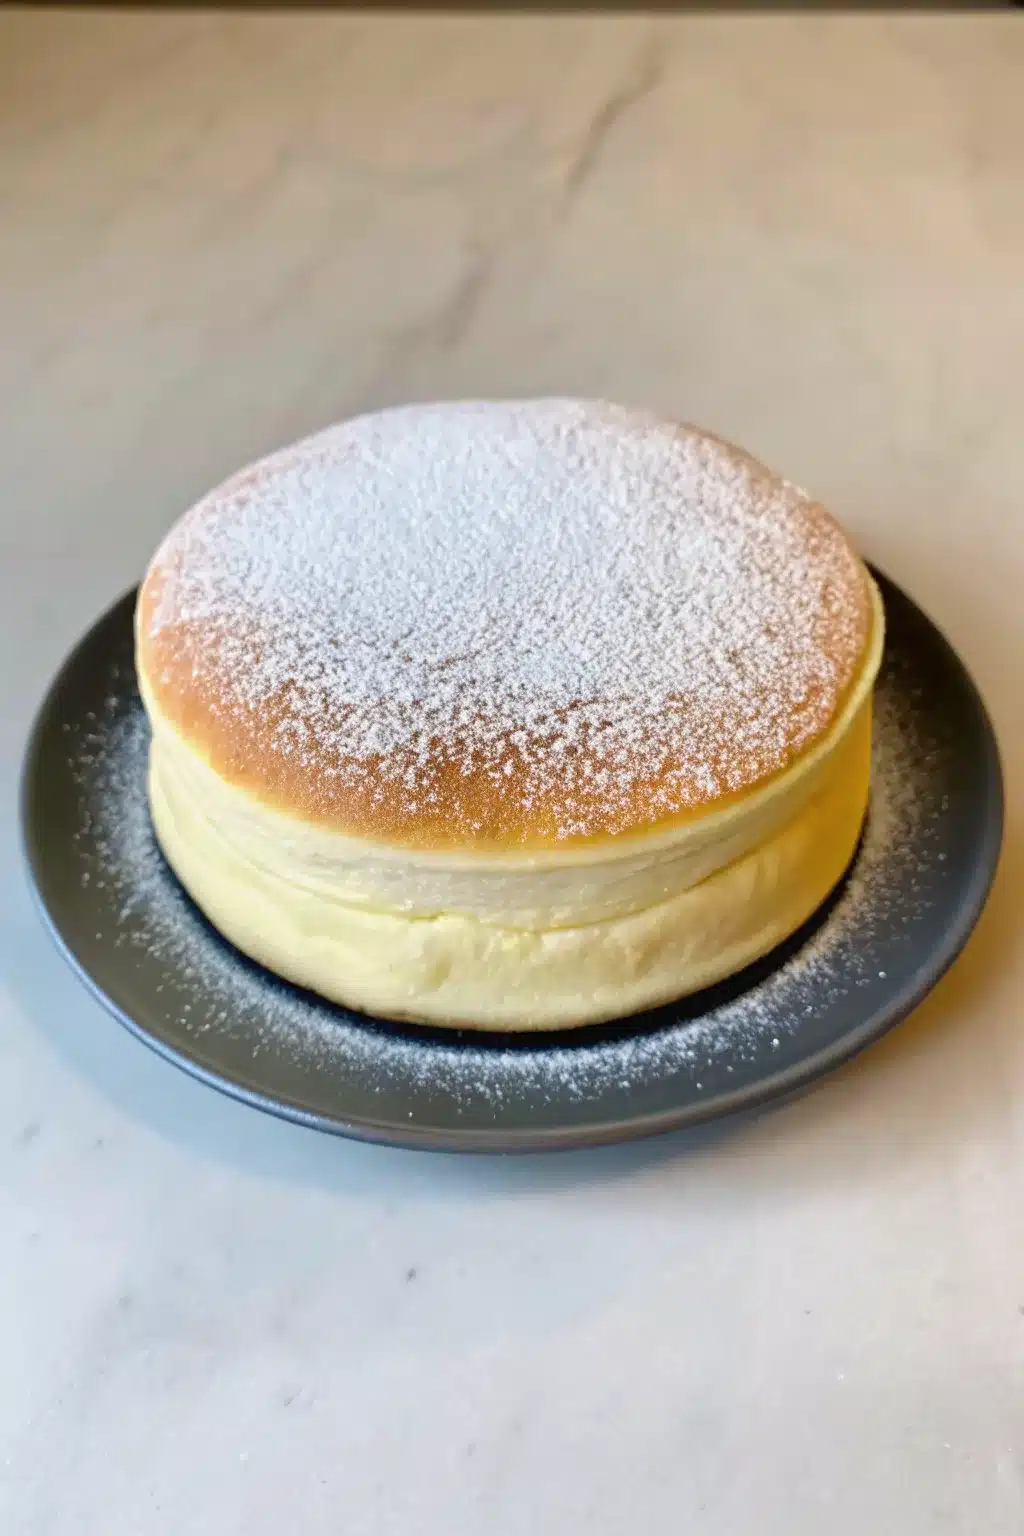
So apparently, the Japanese figured out how to make cheesecake with just two ingredients while the rest of us are over here buying cream cheese, eggs, sugar, vanilla, graham crackers, and sacrificing our sanity to the cheesecake gods. This 2 Ingredient Japanese Cheesecake dessert uses only white chocolate and eggs. That’s it. I’m not kidding.
Why This 2 Ingredient Japanese Cheesecake Recipe is Awesome
First off, two ingredients. TWO. If you can count to two, you can make this cheesecake. No mixer required, no water bath drama, no crust to mess up. It’s so simple it almost feels like cheating, but I promise it’s legit.
The texture is somewhere between a soufflé and a traditional cheesecake—super light, airy, and it jiggles when you move the pan (which is weirdly satisfying). Plus, it’s not overly sweet, so you can absolutely justify eating half of it in one sitting. Not that I’ve done that. Multiple times.
Best part? Minimal cleanup. When you’re only using two ingredients, there aren’t fifty bowls to wash afterward. Your future self will thank you.
Ingredients You’ll Need
- 4 oz white chocolate (about 120g, good quality works best)
- 3 large eggs (at room temp, separated)
That’s literally it. I told you this was stupid easy.
Step-by-Step Instructions
1. Preheat your oven to 340°F. Line a 6-inch round cake pan with parchment paper. Make sure it goes up the sides a bit—this cake puffs up like it’s got somewhere important to be.
2. Melt the white chocolate. You can do this in the microwave (15-second bursts, stirring between each) or use a double boiler if you’re feeling fancy. Just don’t burn it, or you’ll have to start over and that’s annoying.
3. Separate your eggs. Yolks in one bowl, whites in another. Try not to get any yolk in the whites because we need those whites to whip up properly. This is important—don’t skip this step or get lazy about it.
4. Mix the egg yolks into the melted white chocolate. Stir until it’s smooth and fully combined. The mixture will be thick and glossy, like really fancy paint.
5. Beat the egg whites until stiff peaks form. This is where the magic happens. Use a hand mixer or whisk like your life depends on it. When you lift the beaters, the peaks should stand straight up without flopping over. If they droop, keep beating.
6. Fold one-third of the egg whites into the chocolate mixture. Use a spatula and be gentle. This lightens up the chocolate mixture so it’s easier to incorporate the rest without deflating everything.
7. Add the remaining egg whites and fold carefully. The key word here is “fold,” not “stir.” Scoop from the bottom and fold over the top in a gentle motion. You want to keep as much air in there as possible. The batter should be light, fluffy, and slightly streaky. Don’t overmix trying to make it perfectly smooth.
8. Pour the batter into your prepared pan and give it a gentle tap on the counter to release any big air bubbles. Don’t go crazy—you want to keep most of that air.
9. Bake for 15 minutes at 340°F, then reduce the temperature to 300°F and bake for another 15 minutes. The top should be golden and the cake should jiggle slightly when you shake the pan.
10. Turn off the oven and crack the door open. Let the cheesecake cool inside the oven for about 10 minutes. This prevents it from deflating too dramatically. Some deflation is normal—embrace it.
11. Remove from the oven and let it cool completely before removing from the pan. It’ll shrink a bit as it cools, which is totally fine. Refrigerate for at least 2 hours before serving for the best texture.
Common Mistakes to Avoid
Using cheap white chocolate. Those white baking chips? Not the same thing. Get actual white chocolate (check the ingredients—it should have cocoa butter). The fake stuff won’t melt properly and your cheesecake will be sad.
Not beating the egg whites enough. Soft peaks won’t cut it here. You need stiff peaks that stand up proud. Underbeaten whites mean a denser, flatter cheesecake. Nobody wants a flat cheesecake.
Overmixing after adding the egg whites. Once you add those fluffy whites to the chocolate, treat them like they’re made of glass. Fold gently and stop when there are still a few streaks visible. Overmixing = deflated batter = dense cake.
Opening the oven door constantly. Temperature drops will mess with your cheesecake’s rise and texture. Set a timer and resist the urge to peek. I know it’s hard, but practice some self-control.
Alternatives & Substitutions
Want a different flavor? Swap white chocolate for dark or milk chocolate. Just know that dark chocolate will give you a less sweet, more intense flavor. The texture might be slightly denser too, but it’ll still work.
No 6-inch pan? Use a 7-inch or even 8-inch pan, but adjust your baking time. Smaller pans = taller cake = longer bake time. Larger pans = flatter cake = shorter bake time. Start checking around the 20-minute mark.
Add some pizzazz. Mix in a tiny bit of matcha powder to the egg yolk mixture for a green tea version, or add some lemon zest for a citrus twist. Keep additions minimal though—too much extra stuff will weigh down the batter.
Egg alternatives? Honestly, no. This recipe is literally eggs and chocolate. The eggs are doing all the heavy lifting here. If you can’t eat eggs, this unfortunately isn’t the recipe for you. Sorry.
Final Thoughts
This Japanese cheesecake is proof that sometimes less really is more. Two ingredients, minimal effort, maximum impressiveness. It’s light enough that you won’t feel like you need a nap after eating it (unlike traditional cheesecake), and it looks fancy enough to serve at a dinner party.
Fair warning though: people will ask you for the recipe, and when you tell them it’s just white chocolate and eggs, they won’t believe you. Let them think you’re a baking wizard. You’ve earned it.
FAQ (Frequently Asked Questions)
Q: Why did my cheesecake deflate so much after baking?
A: Some deflation is totally normal—it’s basically a soufflé in disguise. But if it deflated dramatically, you probably overmixed the batter or opened the oven door too soon. Next time, fold more gently and let it cool gradually in the oven with the door cracked.
Q: Can I make this without a stand mixer?
A: Yep! A hand mixer works great, or you can even whisk by hand if you’ve got good arm strength and determination. It’ll take longer to get stiff peaks, but it’s doable. Think of it as a free arm workout.
Q: How long does this keep?
A: It’ll last 3-4 days in the fridge, covered. The texture is actually best on day two after it’s had time to set properly. It doesn’t freeze well though—the texture gets weird and rubbery when thawed.
Q: My cheesecake cracked on top—did I mess up?
A: Cracks happen, especially if the oven temperature fluctuated or it cooled too quickly. The good news? It doesn’t affect the taste at all, and you can always dust it with powdered sugar to hide any imperfections. Problem solved.
2 Ingredient Japanese Cheesecake
Course: DessertCuisine: JapaneseDifficulty: EasyServings
6
servingsPrep time
15
minutesCooking time
30
minutesCalories
165
kcalTotal time
45
minutesIngredients
4 oz white chocolate (120g), good quality
3 large eggs, separated, at room temperature
Directions
- Preheat oven to 340°F. Line a 6-inch round cake pan with parchment paper, ensuring it goes up the sides.
- Melt white chocolate in microwave (15-second bursts, stirring between) or using a double boiler until smooth.
- Separate eggs, placing yolks in one bowl and whites in another.
- Mix egg yolks into melted white chocolate, stirring until smooth and glossy.
- Beat egg whites until stiff peaks form (peaks should stand straight up when beaters are lifted).
- Fold one-third of egg whites into chocolate mixture to lighten it.
- Add remaining egg whites and fold gently until just combined. Batter should be light, fluffy, and slightly streaky.
- Pour batter into prepared pan and tap gently on counter to release large air bubbles.
- Bake at 340°F for 15 minutes, then reduce temperature to 300°F and bake for another 15 minutes until golden and slightly jiggly.
- Turn off oven, crack door open, and let cheesecake cool inside for 10 minutes.
- Remove from oven and cool completely. Refrigerate for at least 2 hours before serving.
Notes
- Use good quality white chocolate with cocoa butter in the ingredients—white baking chips won’t work properly and will affect the texture.
- Beat egg whites to stiff peaks and fold gently to maintain airiness—overmixing will deflate the batter and result in a dense cake.
- Cool gradually in the oven with the door cracked to prevent dramatic deflation—some shrinking is normal as it cools.