Follow Me On Social Media!
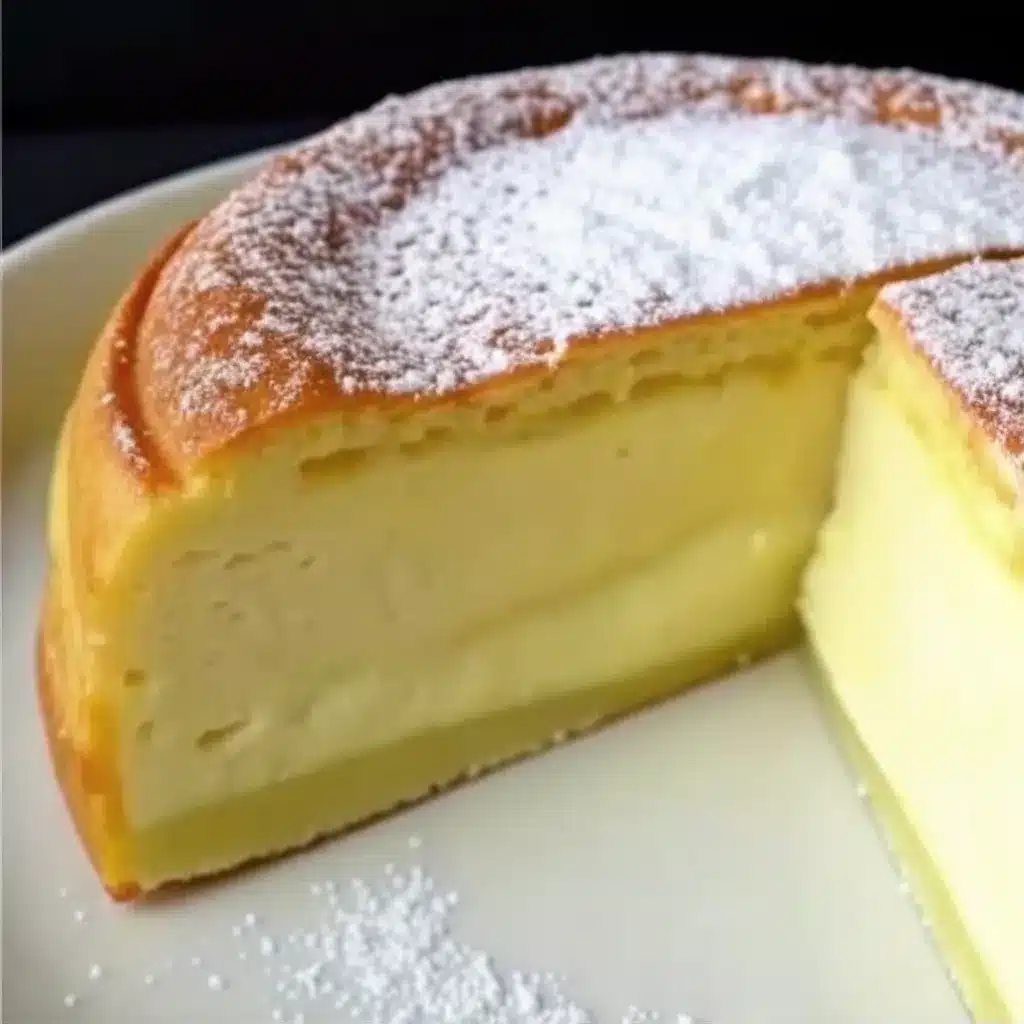
90s Magic Cake Recipe

Remember when your mom used to make desserts that looked complicated but actually required zero skill? Yeah, this is one of those. The 90s Magic Cake Recipe is basically the lazy baker’s dream—you mix everything together like a normal cake, but somehow it bakes itself into three distinct layers. Science? Witchcraft? Who cares when it tastes this good.
Table of Contents
Why This 90s Magic Cake Recipe is Awesome
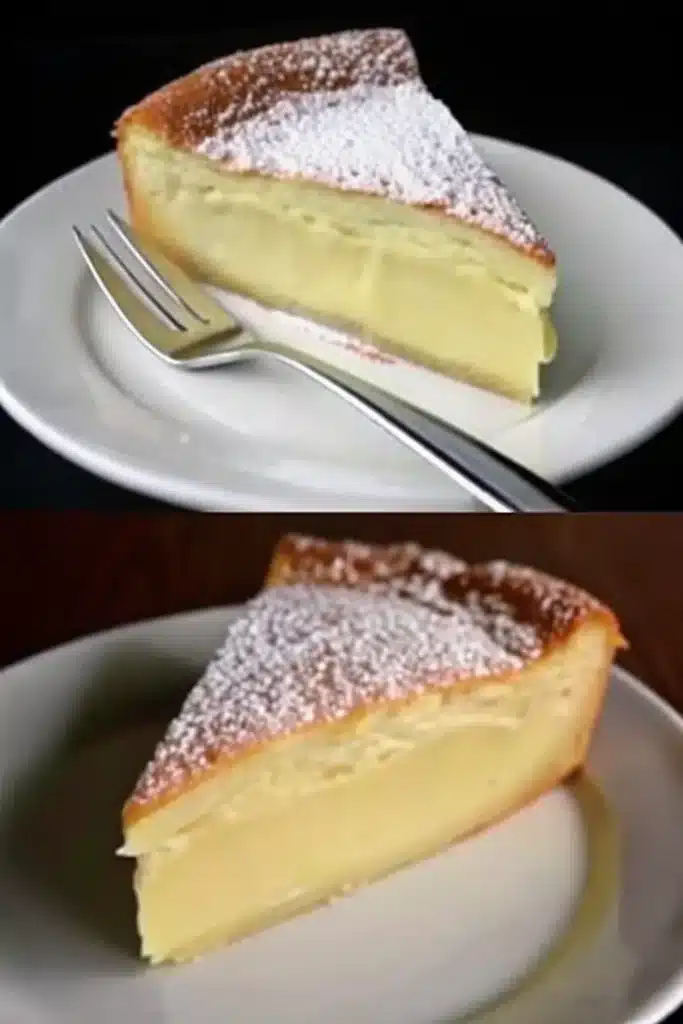
Let me be blunt: this 90s Magic Cake Recipe is basically foolproof. You literally dump everything into one bowl, whisk it like you’re mad at it, and the oven does all the heavy lifting. While it bakes, the batter magically separates into a dense custard bottom, a creamy middle, and a light, fluffy cake top. It’s like three desserts had a baby, and that baby is delicious.
The best part? People will think you slaved away for hours creating this fancy layered masterpiece. Just smile and accept the compliments. I won’t tell if you don’t. Plus, it uses basic ingredients you probably already have, so no special trips to fancy grocery stores required. Win-win.
Ingredients You’ll Need
- 4 eggs (at room temp—this is actually important for once)
- ¾ cup sugar (because sweet is the whole point)
- 1 stick of butter (melted, aka 8 tablespoons or ½ cup)
- ¾ cup all-purpose flour (just regular flour, nothing fancy)
- 2 cups milk (also room temp, or the butter will seize up and ruin your day)
- 1 tablespoon vanilla extract (or the imitation stuff, we’re not snobs here)
- Powdered sugar for dusting (optional but makes you look legit)
- Tiny pinch of salt (because everything needs salt)
Step-by-Step Instructions
1. Preheat your oven to 325°F. Yeah, that’s lower than usual. Trust the process. Grease an 8×8 baking dish and set it aside. Don’t skip the greasing unless you enjoy scraping cake remnants with a chisel later.
2. Separate those eggs. Whites in one bowl, yolks in another. Try not to get any yolk in the whites or they won’t whip properly, and then you’ll be sad.
3. Beat the egg whites until stiff peaks form. This means when you pull the whisk out, the peaks stand up straight instead of flopping over like they’ve given up on life. Set this bowl aside—you’ll need it later.
4. In a different bowl, whisk the egg yolks with sugar until the mixture turns pale and slightly thick. Add the melted butter and vanilla, then mix until combined. It should look smooth and slightly fancy.
5. Add the flour and mix gently. Don’t go crazy here—just stir until there are no visible flour clumps. The batter will be thick at this point, which is totally normal.
6. Slowly add the milk while whisking constantly. The batter will get super thin and liquidy. Don’t panic. This is supposed to happen. If it doesn’t look weird, you’re doing it wrong.
7. Gently fold in the egg whites. Use a spatula and fold carefully—you want to keep some of that air you just beat into them. The batter will look lumpy and separated, like it’s having an identity crisis. Leave it alone. Seriously, don’t overmix trying to “fix” it.
8. Pour the batter into your prepared pan and bake for 45-60 minutes. The top should be golden and slightly jiggly in the center. It’ll firm up as it cools, so don’t overbake it thinking something’s wrong.
9. Let it cool completely in the pan. This is crucial. If you try to cut into it warm, you’ll just get a gooey mess. Patience, young grasshopper.
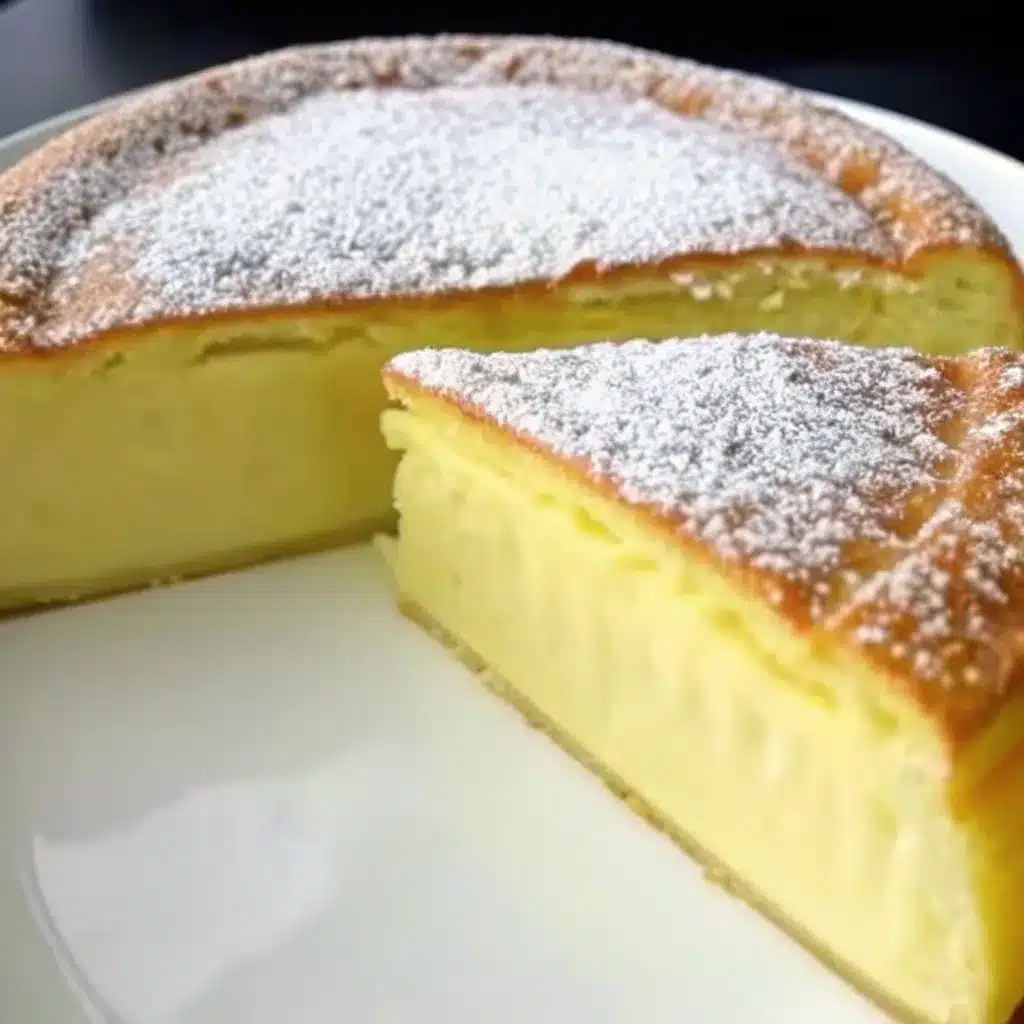
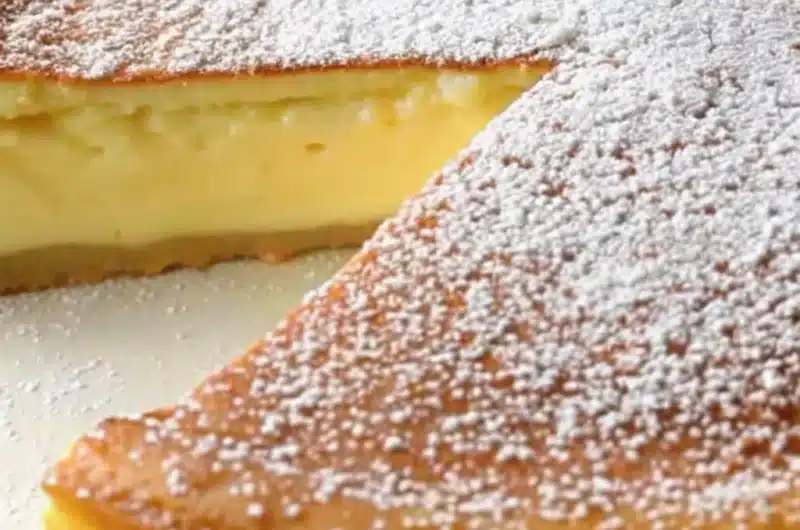
10. Dust with powdered sugar before serving, because presentation matters (even if you’re eating it alone in your pajamas).
Common Mistakes to Avoid
Not using room temperature ingredients. Cold milk will cause the melted butter to solidify into gross little chunks. Then your batter looks like cottage cheese, and nobody wants that.
Overmixing the egg whites into the batter. The whole point is to keep them fluffy so the layers separate properly. If you stir until smooth, you’ve just made regular cake batter. Congrats, you played yourself.
Opening the oven door constantly to check on it. Temperature fluctuations will mess with the magic. Set a timer and walk away. Find a hobby. Read a book. Just don’t hover.
Cutting into it while it’s warm. I know waiting is hard, but seriously, let it cool for at least 2 hours. Room temperature or chilled is when this cake really shines and shows off those distinct layers.
Alternatives & Substitutions
No vanilla extract? Use almond extract instead, but cut the amount in half because that stuff is potent. Or just skip it entirely—the cake will survive.
Dairy-free? You can try plant-based milk and vegan butter, though I’ll be honest, I haven’t tested this myself. The texture might be slightly different, but the magic should theoretically still happen.
Want to jazz it up? Add lemon zest to the batter for a citrus version, or swirl in some chocolate or berry sauce before baking. Just don’t add too much extra liquid or you’ll throw off the ratios.
Different pan size? A 9×9 will work but might bake faster. Check it around the 40-minute mark. Anything bigger and the layers might not develop as dramatically.
Final Thoughts
Look, if you can separate eggs and operate a whisk, you can make this 90s Magic Cake Recipe. It’s retro, it’s impressive, and honestly, it’s kind of fun watching people’s faces when they cut into it and see those three layers. Plus, it tastes like a creamy, custardy cloud had a love affair with a cake.
So grab your ingredients, channel your inner 90s housewife (or house-spouse, we’re inclusive here), and make some magic happen. Your taste buds will thank you.
FAQ (Frequently Asked Questions)
Q: Why didn’t my cake separate into layers?
A: Usually this happens because the egg whites were overmixed into the batter, or your oven temp was off. Make sure you’re folding gently and baking at the right temperature. Also, some ovens are liars—get an oven thermometer if you’re unsure.
Q: Can I make this ahead of time?
A: Absolutely! This cake actually tastes better the next day after it’s been chilled. Make it the night before, refrigerate it, and pull it out when you’re ready to impress people. It’ll keep for 3-4 days covered in the fridge.
Q: The top cracked while baking—did I ruin it?
A: Nope, you’re fine. Some cracking on top is totally normal and doesn’t affect the layers or taste at all. The powdered sugar will cover it anyway, so no one will ever know. Your secret’s safe.
Q: Can I freeze magic cake?
A: Technically yes, but the texture of the custard layer might get a bit weird when thawed. If you’re going to freeze it, I’d suggest slicing it first and freezing individual portions. Thaw in the fridge overnight before eating.
90s Magic Cake Recipe
Course: DessertCuisine: AmericanDifficulty: EasyServings
9
servingsPrep time
20
minutesCooking time
50
minutesCalories
215
kcalTotal time
1
hour10
minutesIngredients
4 eggs, separated, at room temperature
¾ cup sugar
½ cup butter (1 stick), melted
¾ cup all-purpose flour
2 cups milk, at room temperature
1 tablespoon vanilla extract
Tiny pinch of salt
Powdered sugar for dusting (optional)
Directions
- Preheat oven to 325°F. Grease an 8×8 inch baking dish.
- Separate eggs, placing whites in one bowl and yolks in another.
- Beat egg whites until stiff peaks form. Set aside.
- Whisk egg yolks with sugar until pale and thick. Add melted butter and vanilla, mix until combined.
- Add flour and salt, stir gently until no lumps remain.
- Slowly add milk while whisking constantly. Batter will become very thin.
- Gently fold in egg whites using a spatula. Batter will look lumpy and separated—do not overmix.
- Pour batter into prepared pan and bake for 45-60 minutes until top is golden and slightly jiggly in center.
- Let cool completely in pan for at least 2 hours (or refrigerate).
- Dust with powdered sugar before serving.
Notes
- Use room temperature eggs and milk to prevent the melted butter from solidifying into chunks when mixed.
- Don’t overmix the egg whites into the batter—keep it lumpy to ensure proper layer separation during baking.
- Let the cake cool completely before cutting (at least 2 hours) so the three distinct layers can set properly.