Follow Me On Social Media!
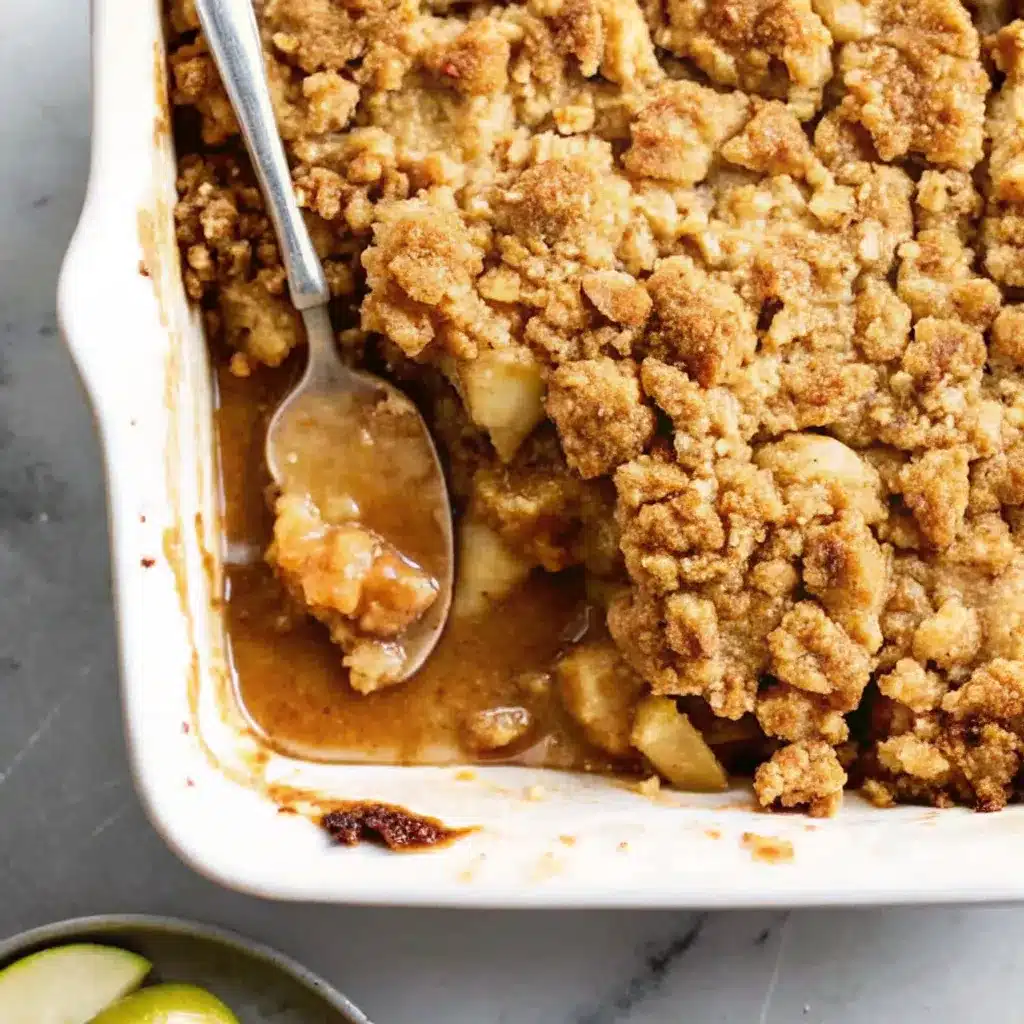
Baked Apple Crumble Recipe
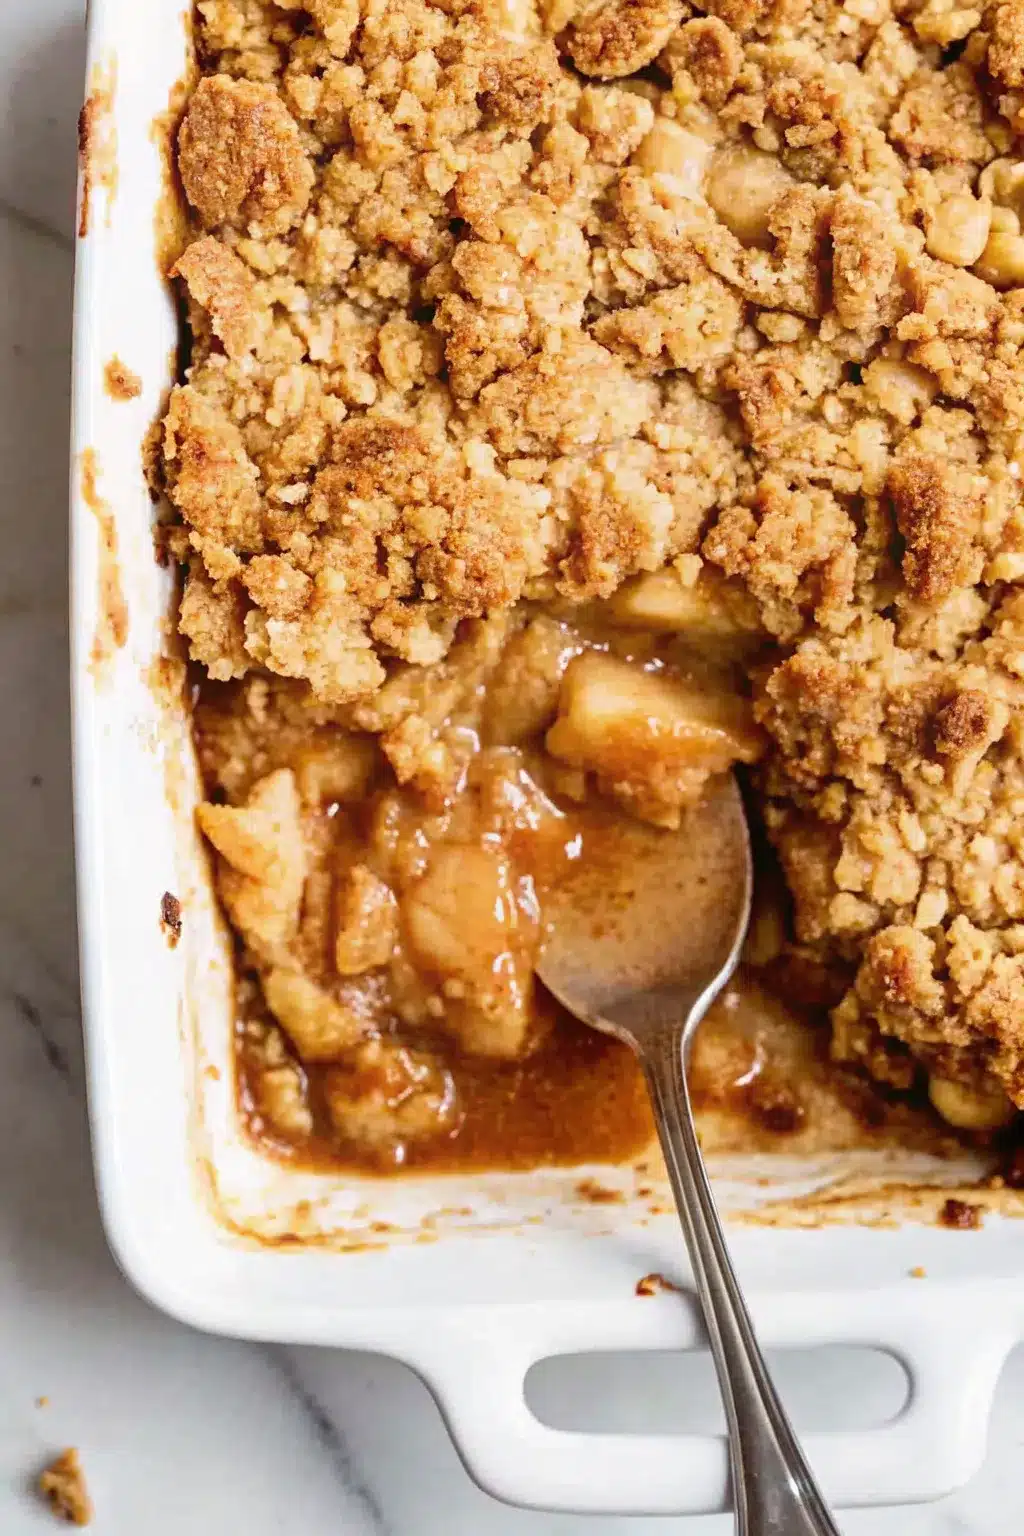
Look, I’m not saying baked apple crumble will solve all your problems, but it’s warm, buttery, and makes your kitchen smell like a cinnamon-scented hug. Plus, it’s one of those desserts that looks like you tried really hard when you actually just threw some stuff in a dish and called it a day. Win-win.
Table of Contents
Why This Baked Apple Crumble Recipe is Awesome
First off, this Baked Apple Crumble recipe is basically foolproof. If you can peel an apple and mix butter with flour (and honestly, even the mixing part is optional if you’re feeling lazy), you’re golden. There’s no fancy technique, no tempering chocolate, no worrying about whether your soufflé will collapse. It’s just apples, sugar, and a crumbly topping that tastes like autumn had a baby with happiness.
Second, it’s insanely versatile. Got guests coming over? Fancy dessert. Eating alone on your couch at 10 PM? Also appropriate. Breakfast the next morning? I won’t judge. The best part? You probably have most of these ingredients already, so you won’t need to put on real pants and go to the store.
And let’s be real—anything called a “crumble” automatically sounds cozy and non-threatening. It’s the dessert equivalent of a flannel blanket.
Ingredients You’ll Need
For the filling:
- 6-7 medium apples (Granny Smith, Honeycrisp, or whatever’s not rotten in your fridge)
- 3 tablespoons granulated sugar
- 1 tablespoon lemon juice (fresh or bottled, I’m not your mom)
- 1 teaspoon cinnamon
- ¼ teaspoon nutmeg (optional, but it makes you feel fancy)
- 1 tablespoon flour (this helps thicken things up)
For the crumble topping:
- 1 cup all-purpose flour
- ½ cup rolled oats (the old-fashioned kind, not the instant mush)
- ½ cup brown sugar (light or dark, your call)
- ½ cup cold butter, cubed (and yes, it needs to be cold)
- ½ teaspoon cinnamon
- Pinch of salt (because everything needs salt)
Step-by-Step Instructions
1. Preheat your oven to 350°F (175°C). This is one of those rare times where preheating actually matters, so don’t skip it. Go ahead and grease a 9×9-inch baking dish while you’re at it.
2. Prep your apples. Peel them (or don’t, if you’re into that rustic vibe), core them, and slice them into roughly ¼-inch pieces. Toss them in a large bowl with the sugar, lemon juice, cinnamon, nutmeg, and flour. Make sure everything’s coated—you want those apples well-dressed for their oven debut.
3. Dump the apple mixture into your greased baking dish. Spread it out evenly. Nothing fancy here, just make it look somewhat intentional.
4. Make the crumble topping. In another bowl, mix together the flour, oats, brown sugar, cinnamon, and salt. Add those cold butter cubes and use your fingers (or a pastry cutter if you’re fancy) to work the butter into the dry ingredients. You’re going for a crumbly, sandy texture—think wet sand at the beach, not Play-Doh. Some bigger chunks are fine; they’ll get all crispy and delicious.
5. Sprinkle the crumble topping over the apples. Cover them completely, like you’re tucking them into bed. Don’t pack it down—let it stay loose and crumbly.
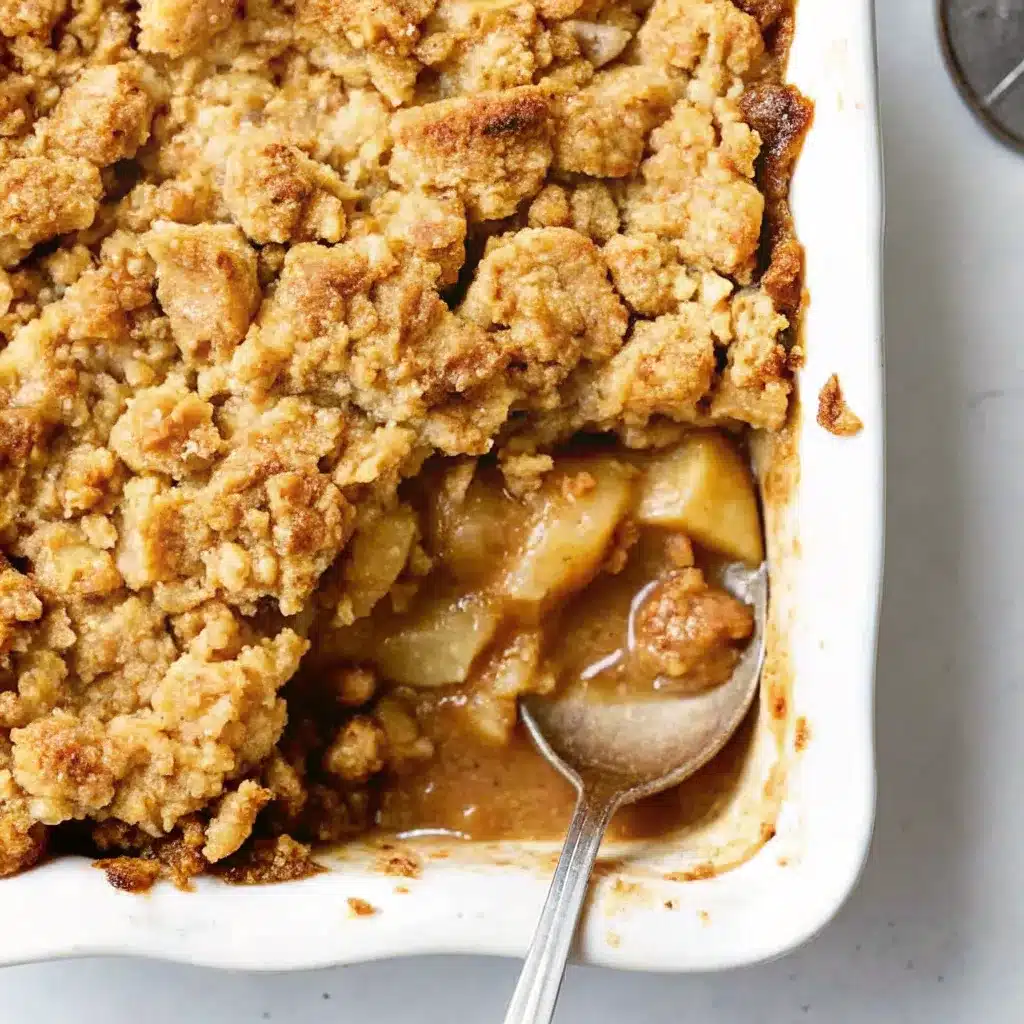
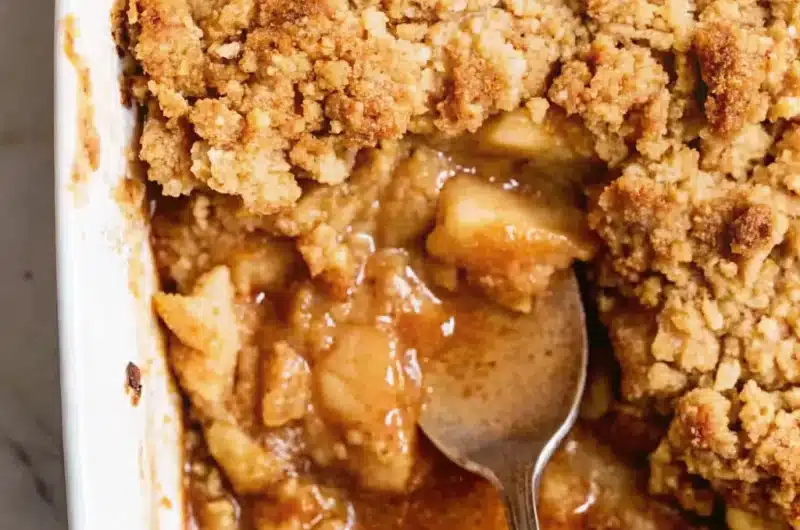
6. Bake for 40-45 minutes. You’ll know it’s done when the topping is golden brown and the apple filling is bubbling around the edges. Your kitchen should smell absolutely incredible by now.
7. Let it cool for at least 10 minutes. I know, I know—waiting is hard. But if you dive in immediately, you’ll burn your mouth and the filling will be lava-hot. Exercise some self-control.
Common Mistakes to Avoid
Using wet butter. Cold butter is key for that crumbly texture. Room temperature butter will give you a weird, greasy paste situation. Not cute.
Cutting your apples too thick. If your slices are chunky, they won’t cook through properly and you’ll end up with crunchy apples (and not in a good way). Keep them thin and consistent.
Forgetting the lemon juice. It’s tempting to skip it, but that little bit of acid balances the sweetness and keeps your apples from tasting one-dimensional. Don’t be lazy.
Overcrowding the dish. If you pile the apples too high, the top will burn before the bottom cooks. Keep it to a single layer-ish.
Alternatives & Substitutions
Apples: Use whatever apples you have. Granny Smith are classic because they’re tart and hold their shape, but Honeycrisp, Fuji, or even a mix works great. Pro tip: combining tart and sweet apples gives you the best flavor complexity.
Butter: You can use coconut oil if you’re dairy-free, but honestly, butter makes everything better. If you insist on being healthy, go ahead—just know you’re sacrificing some of that rich, buttery goodness.
Oats: No oats? Use more flour or throw in some chopped nuts like pecans or almonds. It’ll change the texture slightly but still taste amazing.
Sugar: Swap brown sugar for coconut sugar or maple sugar if you’re feeling earthy. You can also reduce the sugar a bit if your apples are super sweet.
Spices: Not into cinnamon? Try cardamom or ginger. Want it more fall-spiced? Add a pinch of cloves. This is your crumble—make it yours.
Final Thoughts
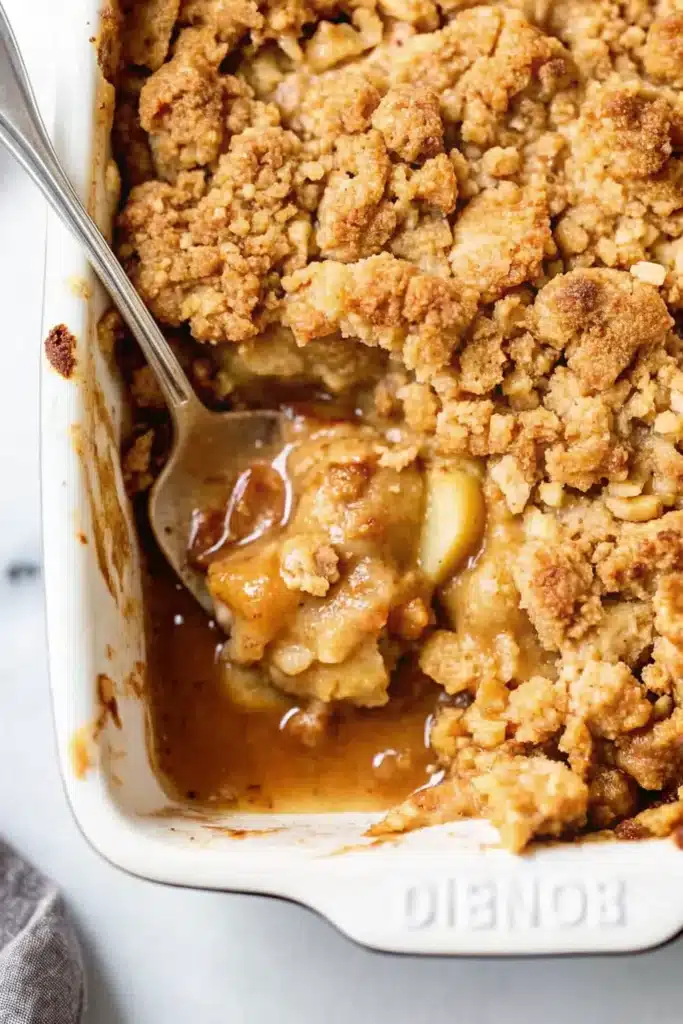
There you have it—a baked apple crumble that’s cozy, delicious, and requires minimal effort. Serve it warm with a scoop of vanilla ice cream (or don’t, if you’re being weird about it), and watch people lose their minds over something you made in like an hour.
Honestly, this is the kind of dessert that makes you look like you have your life together, even if you absolutely don’t. And isn’t that what we’re all looking for? Now go forth and crumble.
FAQ (Frequently Asked Questions)
Can I make this ahead of time? Yep! You can assemble the whole thing, cover it tightly, and stick it in the fridge for up to 24 hours before baking. Just add a few extra minutes to the baking time since it’ll be cold. You can also bake it completely, let it cool, and reheat it in the oven at 300°F for about 15 minutes.
Do I really need to peel the apples? Not really. Leaving the peels on adds fiber and a slightly different texture. Some people find them chewy, others don’t care. IMO, peeled apples give you a smoother, more classic crumble vibe, but it’s not a dealbreaker either way.
Can I freeze leftovers? Absolutely. Let it cool completely, wrap it well (like, really well—double wrap that baby), and freeze for up to 3 months. Reheat in the oven straight from frozen at 350°F for about 30 minutes. The topping might lose a tiny bit of crispness, but it’ll still be delicious.
What’s the difference between a crumble and a crisp? Great question. A crisp usually has oats in the topping, while a traditional crumble is just flour, butter, and sugar. But honestly? The terms are used interchangeably these days, so don’t stress about it. This recipe has oats, so technically it’s more of a crisp, but who’s keeping track?
Baked Apple Crumble Recipe
Course: DessertCuisine: AmericanDifficulty: EasyServings
8
servingsPrep time
15
minutesCooking time
45
minutesCalories
285
kcalTotal time
1
hourIngredients
- For the filling:
6-7 medium apples (Granny Smith or Honeycrisp), peeled and sliced
3 tablespoons granulated sugar
1 tablespoon lemon juice
1 teaspoon cinnamon
¼ teaspoon nutmeg (optional)
1 tablespoon all-purpose flour
- For the crumble topping:
1 cup all-purpose flour
½ cup rolled oats
½ cup brown sugar
½ cup cold butter, cubed
½ teaspoon cinnamon
Pinch of salt
Directions
- Preheat oven to 350°F (175°C) and grease a 9×9-inch baking dish.
- Peel, core, and slice apples into ¼-inch pieces. Toss with sugar, lemon juice, cinnamon, nutmeg, and flour in a large bowl.
- Spread apple mixture evenly in the prepared baking dish.
- In another bowl, combine flour, oats, brown sugar, cinnamon, and salt. Add cold butter cubes and work into the mixture with your fingers until crumbly.
- Sprinkle crumble topping evenly over apples without packing it down.
- Bake for 40-45 minutes until topping is golden brown and filling is bubbling.
- Let cool for 10 minutes before serving.
Notes
- Use cold butter for the crumble topping to achieve the perfect crumbly, sandy texture instead of a greasy paste.
- Slice apples thinly and consistently (about ¼-inch) so they cook through evenly and become tender.
- Don’t skip the lemon juice—it balances the sweetness and adds brightness to the apple filling.