Follow Me On Social Media!
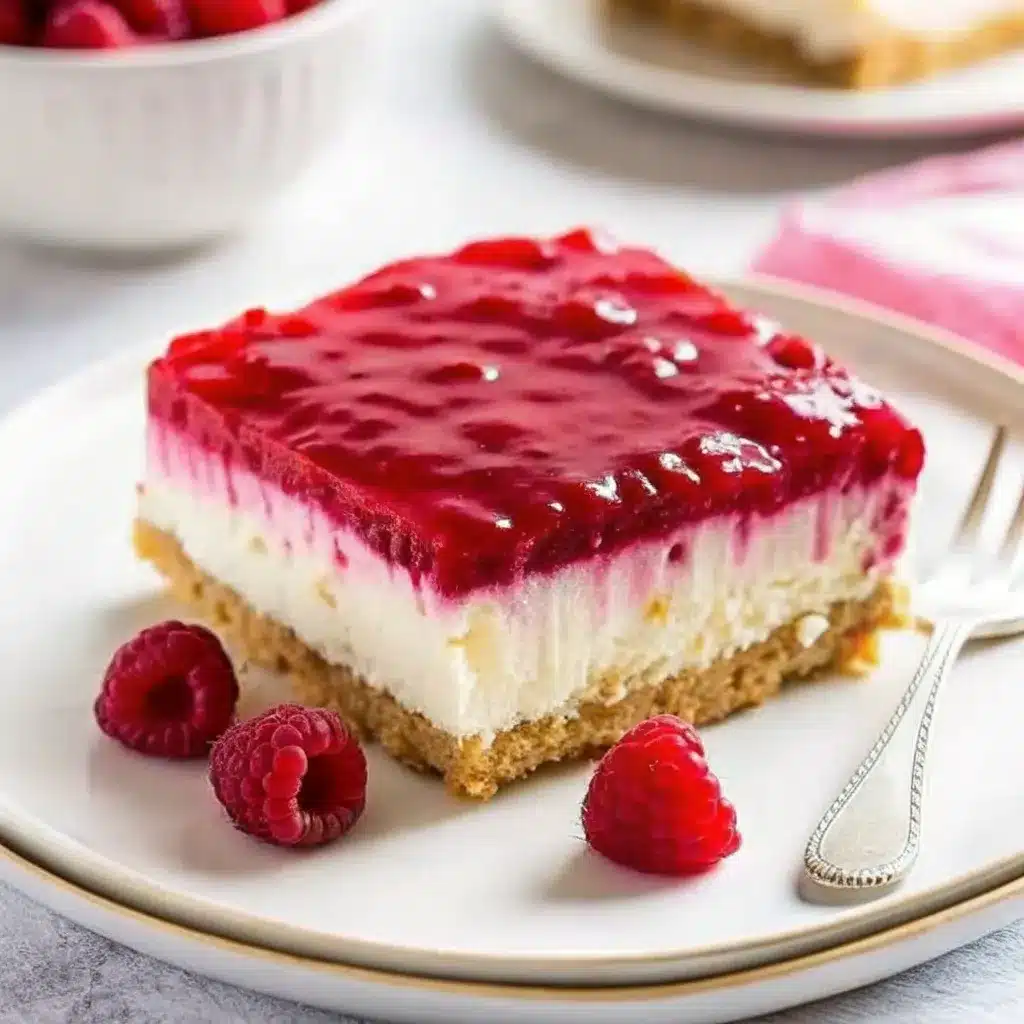
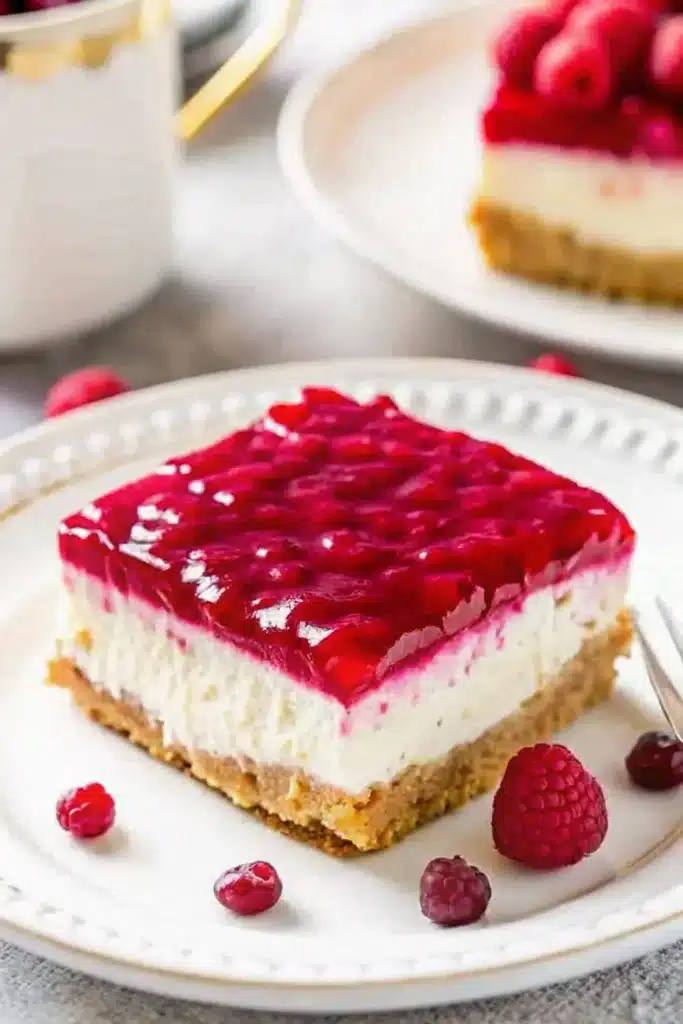
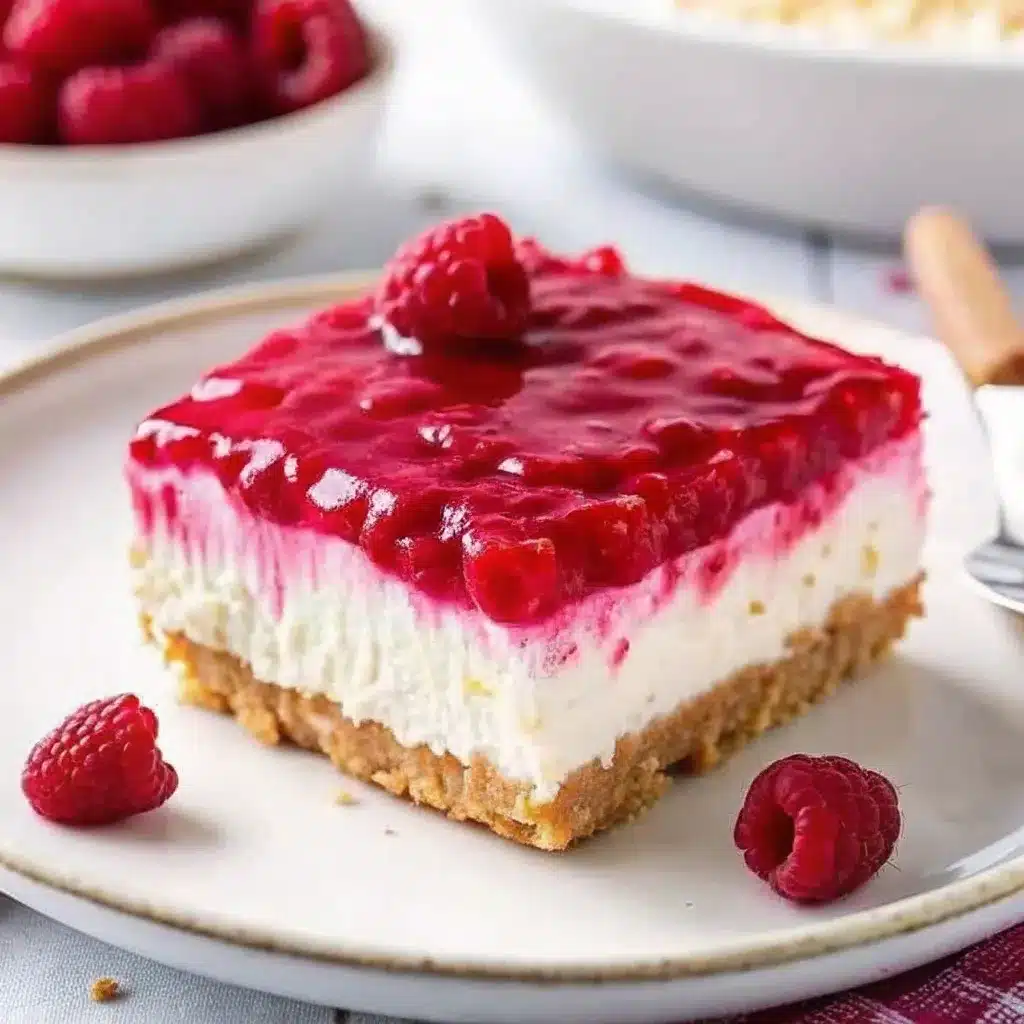
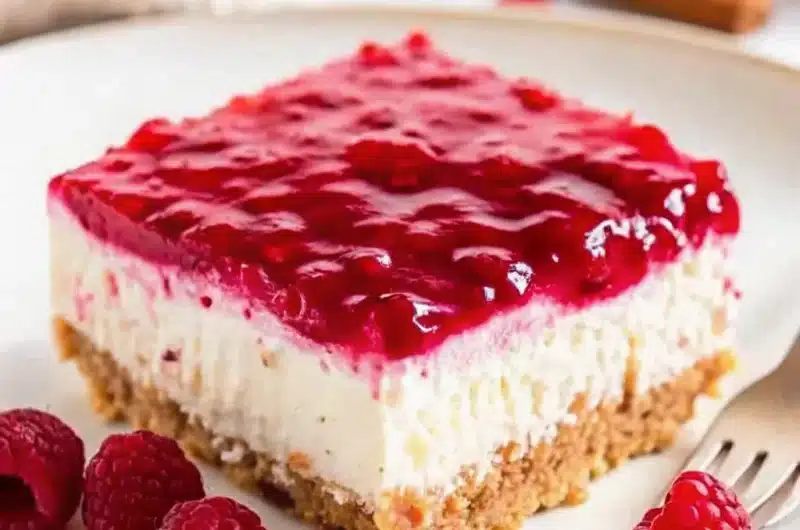
No Bake Raspberry Cheesecake

Look, I’m not saying this No Bake Raspberry Cheesecake will solve all your problems, but it might make you forget about them for like, 20 minutes. And honestly? In this economy, that’s basically a win.
This dessert is what happens when you want to look like you spent hours in the kitchen but actually spent most of that time scrolling through TikTok. It’s fancy enough to impress your in-laws, easy enough to make while slightly wine-drunk, and requires zero actual baking skills. You don’t even need to turn on your oven, which means your kitchen stays cool and your electric bill stays reasonable.
Table of Contents
Why This No Bake Raspberry Cheesecake Recipe is Awesome
First off, you literally cannot burn this. There’s no oven involved. None. Zero. Zilch. Even if you’ve previously burned water (we’ve all been there), you’re safe here.
Second, it looks expensive and complicated, but it’s neither. The ingredient list is shorter than most people’s morning skincare routine, and the steps are so simple that you could probably do this with your eyes closed. Would I recommend that? No. But could you? Probably.
The raspberry situation here is chef’s kiss because it cuts through all that cream cheese richness without being obnoxiously tart. It’s like having a friend who tells you the truth but doesn’t make you cry about it. Plus, that vibrant pink swirl? Instagram gold. Your followers will think you’re a baking genius, and I won’t tell them otherwise.
The best part? You make it ahead of time. No last-minute panic baking while your guests are already at the door. You make this beauty the night before, stick it in the fridge, and then take all the credit the next day like the strategic genius you are.
Ingredients You’ll Need
For the crust:
- 2 cups graham cracker crumbs (about 14-16 crackers, or just buy the pre-crushed kind because life’s too short)
- 1/3 cup melted butter (the real stuff, not that “I Can’t Believe It’s Not Butter” nonsense)
- 3 tablespoons sugar (because even the crust deserves sweetness)
For the filling:
- 16 oz cream cheese, softened (that’s two blocks, and yes, they MUST be soft or you’ll end up with lumpy sadness)
- 1 cup powdered sugar (confectioner’s sugar, icing sugar—whatever you call it in your region)
- 1 teaspoon vanilla extract (the good stuff if you have it, but honestly, the cheap stuff works fine)
- 2 cups heavy whipping cream (you’ll whip this, obviously)
- 1/4 teaspoon salt (trust me on this)
For the raspberry topping:
- 2 cups fresh or frozen raspberries (frozen is totally fine and usually cheaper, FYI)
- 1/4 cup sugar
- 1 tablespoon lemon juice (freshly squeezed is ideal, but bottled won’t ruin your life)
- 1 tablespoon cornstarch mixed with 2 tablespoons water
Step-by-Step Instructions
1. Make the crust like a boss. Mix your graham cracker crumbs, melted butter, and sugar in a bowl until it looks like wet sand. Press this mixture firmly into the bottom of a 9-inch springform pan. Really press it down—use the bottom of a glass if you need to channel some aggression. Pop it in the fridge while you work on the filling.
2. Beat that cream cheese into submission. In a large bowl, beat the softened cream cheese until it’s smooth and fluffy. Add the powdered sugar, vanilla, and salt, and keep beating until everything’s combined. If you see lumps, you didn’t soften your cream cheese enough, but we’ll pretend we don’t see them.
3. Whip it good. In a separate bowl, whip the heavy cream until stiff peaks form. This means when you lift the beaters, the cream stands up straight instead of flopping over like a tired teenager. Don’t overbeat it or you’ll make butter, and while butter is great, it’s not what we’re going for here.
4. Fold like you’re sending a letter to your crush. Gently fold the whipped cream into the cream cheese mixture. Use a spatula and be gentle—we want to keep all that airiness. Fold until just combined and no white streaks remain. Pour this glorious mixture over your chilled crust and smooth the top.
5. Make the raspberry sauce while feeling accomplished. In a small saucepan, combine the raspberries, sugar, and lemon juice. Cook over medium heat until the berries break down and get jammy (about 5-7 minutes). Stir in that cornstarch slurry and cook for another minute until it thickens. Let it cool for 10 minutes.
6. Create art (kind of). Spoon the raspberry sauce over the cheesecake filling. Use a knife or skewer to swirl it around and create those pretty marble patterns that make everyone think you know what you’re doing. Cover and refrigerate for at least 4 hours, but overnight is better.
Common Mistakes to Avoid
Using cold cream cheese. This is the number one way people mess this up. Cold cream cheese + beating = lumpy nightmare. Just leave it on the counter for an hour before you start, or microwave it in short bursts if you’re impatient.
Over-whipping the heavy cream. There’s a fine line between stiff peaks and butter. Watch it carefully and stop as soon as those peaks stand up straight.
Not pressing the crust firmly enough. A loose crust is a crumbly crust, and nobody wants their dessert falling apart like their New Year’s resolutions.
Skipping the chill time. I know you’re excited, but this needs time to set. Cutting into it too early will give you cheesecake soup, which, while possibly delicious, is not the vibe we’re going for.
Alternatives & Substitutions
No springform pan? Use a regular 9-inch pie dish. You won’t get those fancy tall sides, but it’ll still taste amazing. You just won’t be able to do the dramatic “remove the ring” reveal.
Hate raspberries? (First of all, who hurt you?) Use strawberries, blueberries, or mixed berries instead. The method stays the same.
Want it chocolatey? Replace the graham crackers with chocolate cookies (like Oreos with the filling scraped out) and add 1/4 cup cocoa powder to the cream cheese mixture. Boom. Chocolate raspberry situation.
Lactose intolerant? There are decent dairy-free cream cheese and whipping cream alternatives now. I won’t lie and say they’re exactly the same, but they work.
Need it lighter? You can use reduced-fat cream cheese, but IMO, if you’re eating cheesecake, you might as well commit to the bit.
Final Thoughts
There you have it—No Bake Raspberry Cheesecake that makes you look like a baking wizard while requiring minimal effort and zero baking. It’s creamy, it’s fruity, it’s pretty, and it’s basically foolproof.
Make this No Bake Raspberry Cheesecake for your next dinner party, family gathering, or Tuesday night because Tuesdays are hard and you deserve cheesecake. Your guests will be impressed, you’ll feel accomplished, and everyone wins. Just remember to take the credit graciously and maybe don’t mention how easy it actually was.
Now go forth and create some no-bake magic. Your fridge is waiting.
FAQ (Frequently Asked Questions)
Q: Can I really make this the day before? Absolutely, and you should. This cheesecake actually gets better after sitting in the fridge overnight. The flavors meld together, the texture sets perfectly, and you get to sleep soundly knowing dessert is already handled. It’s a win-win-win situation.
Q: Help! My cheesecake filling is too runny. Did I mess up? Probably didn’t whip your cream enough or didn’t let your cream cheese get soft enough before mixing. But here’s the good news: stick it in the fridge anyway. Sometimes it just needs more time to set. If it’s still soup after 8 hours, well, congratulations—you’ve invented a new dessert. Serve it in parfait glasses and call it deconstructed cheesecake.
Q: Can I freeze this? You can, but the texture gets a bit weird when you thaw it. The filling might separate slightly and become grainy. If you do freeze it, wrap it tightly and eat it within a month. Personally, I’ve never had leftovers long enough to test this theory.
Q: Do I have to use a springform pan? Nope! Any 9-inch pan works, but springform pans make it easier to serve because you can remove the sides and look all professional. If you’re using a regular pan, either serve it straight from the pan (no shame in that game) or line it with parchment paper for easy lifting.
No Bake Raspberry Cheesecake
Course: DessertCuisine: AmericanDifficulty: EasyServings
10
slicesPrep time
25
minutesCooking time
10
minutesCalories
385
kcalTotal time
4
hours35
minutesIngredients
- For the crust:
2 cups graham cracker crumbs
1/3 cup melted butter
3 tablespoons sugar
- For the filling:
16 oz cream cheese, softened
1 cup powdered sugar
1 teaspoon vanilla extract
2 cups heavy whipping cream
1/4 teaspoon salt
- For the raspberry topping:
2 cups fresh or frozen raspberries
1/4 cup sugar
1 tablespoon lemon juice
1 tablespoon cornstarch mixed with 2 tablespoons water
Directions
- Make the crust: Mix graham cracker crumbs, melted butter, and sugar in a bowl until combined. Press firmly into the bottom of a 9-inch springform pan. Refrigerate while preparing the filling.
- Prepare the filling: Beat softened cream cheese until smooth and fluffy. Add powdered sugar, vanilla extract, and salt. Beat until well combined.
- Whip the cream: In a separate bowl, whip heavy cream until stiff peaks form.
- Combine: Gently fold whipped cream into the cream cheese mixture until no white streaks remain. Pour over chilled crust and smooth the top.
- Make raspberry sauce: In a small saucepan, cook raspberries, sugar, and lemon juice over medium heat for 5-7 minutes until berries break down. Stir in cornstarch mixture and cook 1 minute more until thickened. Cool for 10 minutes.
- Swirl and chill: Spoon raspberry sauce over cheesecake filling. Use a knife to create swirl patterns. Cover and refrigerate for at least 4 hours or overnight before serving.
Notes
- Always use softened cream cheese – Leave it at room temperature for at least 1 hour before starting to avoid lumps in your filling.
- Make it the night before – This cheesecake actually tastes better after sitting overnight in the fridge, and you’ll have one less thing to worry about on the day you’re serving it.
- Press the crust firmly – Use the bottom of a glass to really compact the graham cracker mixture so it holds together when you slice the cheesecake.