Follow Me On Social Media!
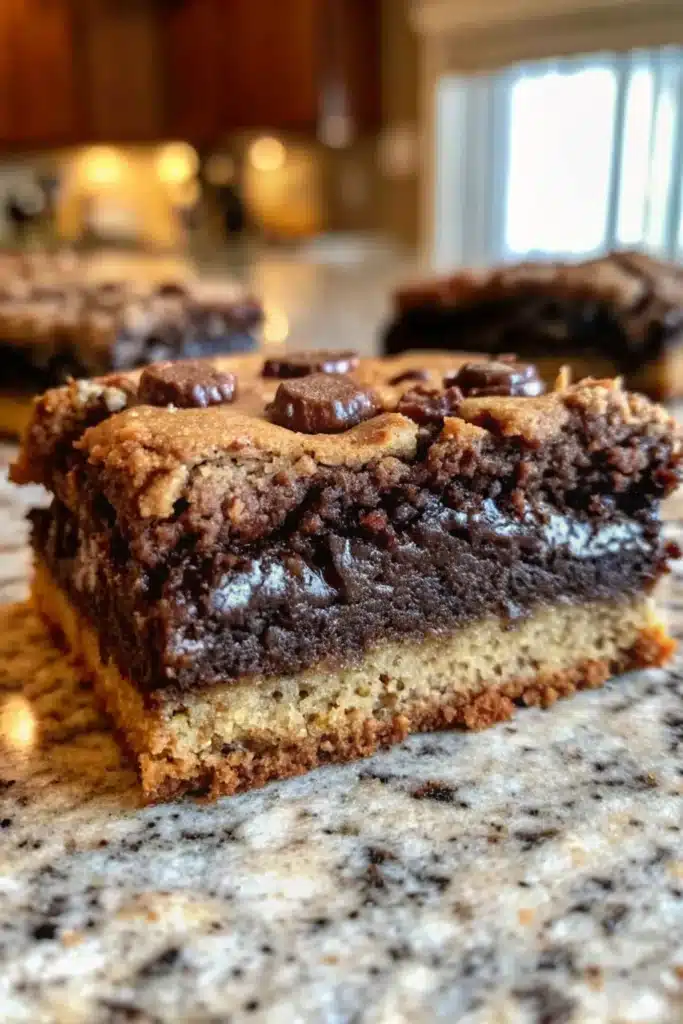
Mouthwatering Slutty Brownies Recipe
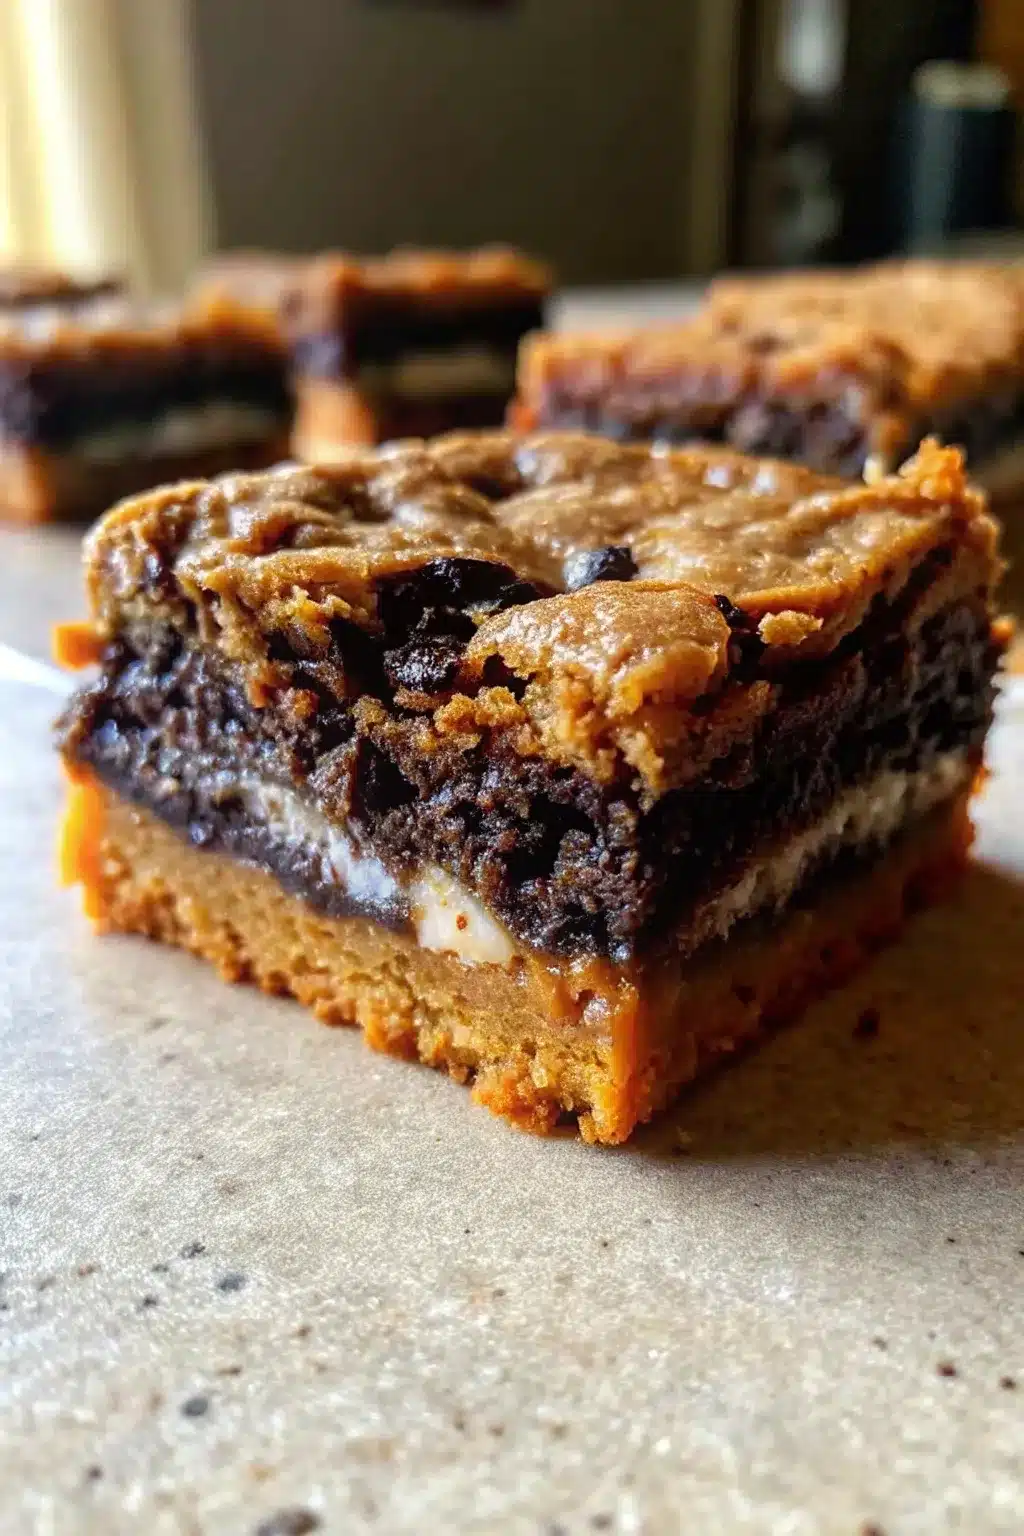
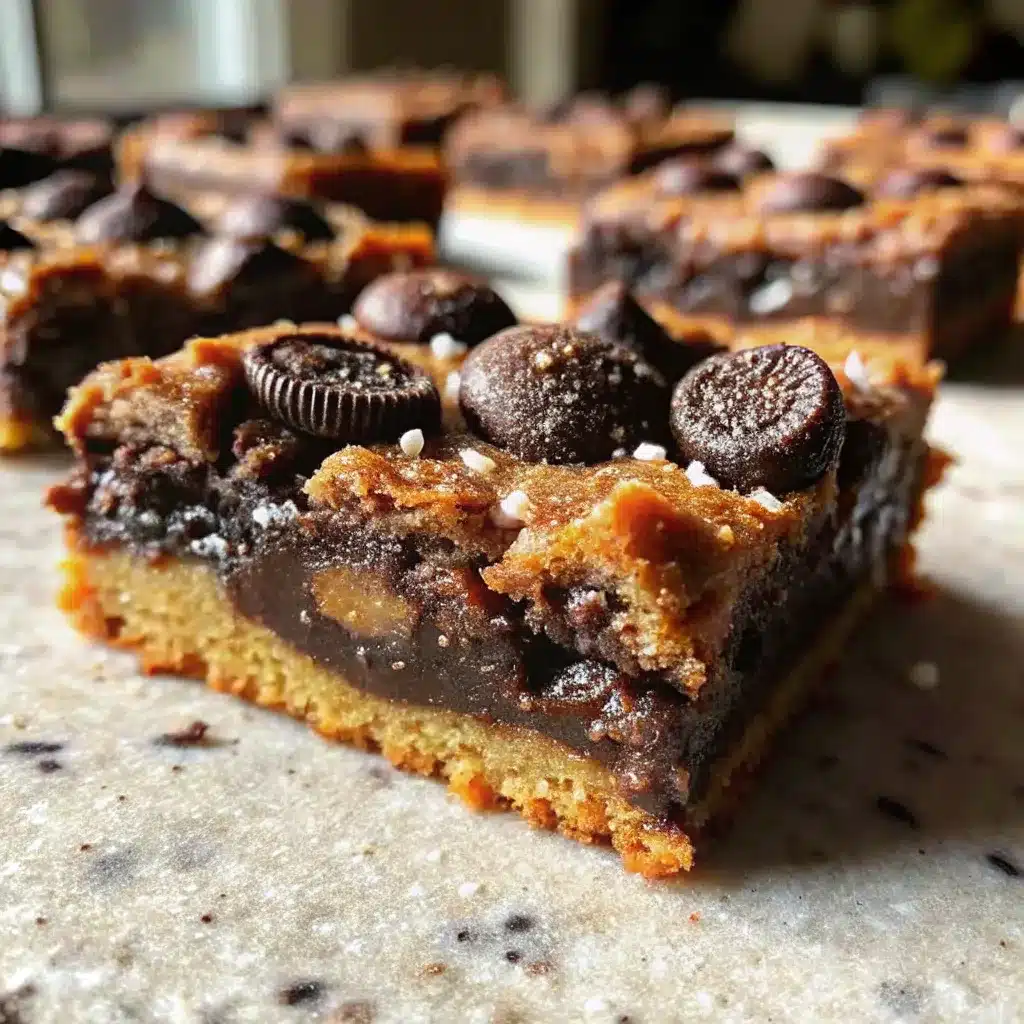
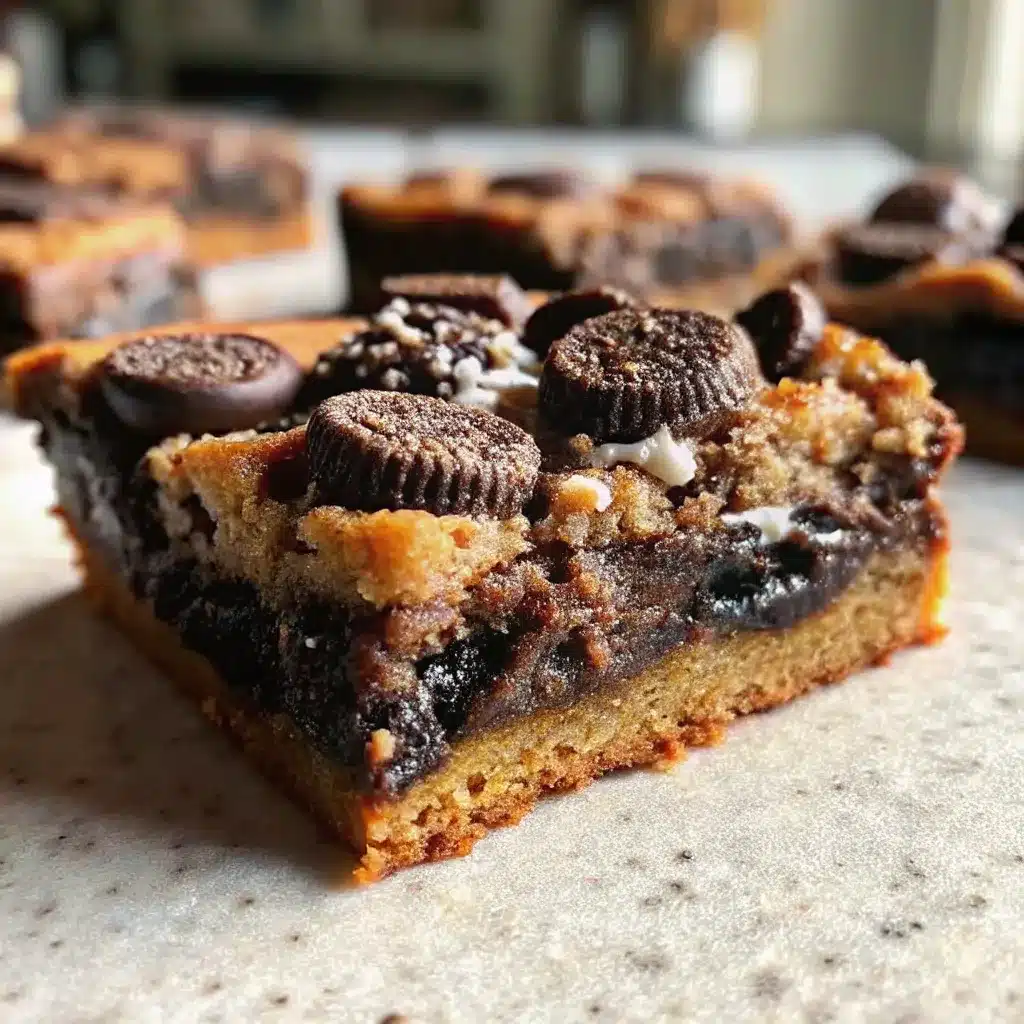
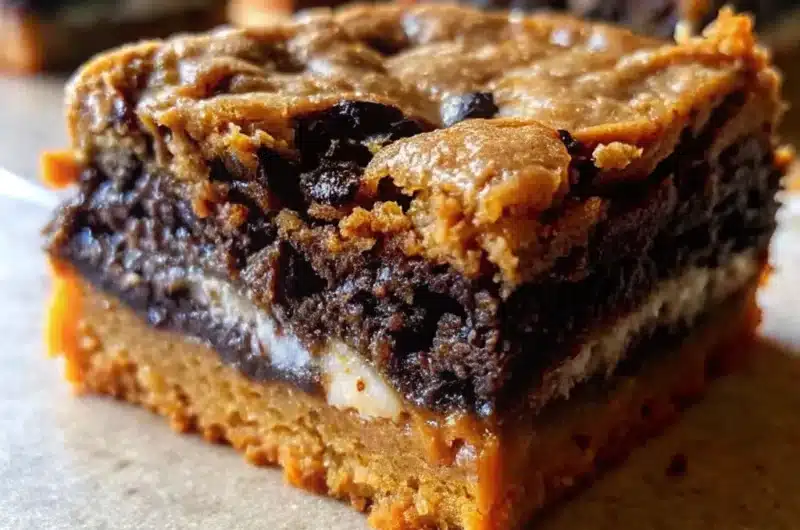
Okay, let’s address the elephant in the room: yes, they’re really called Slutty Brownies, and no, I didn’t make that up. These decadent, over-the-top, absolutely ridiculous brownies are basically three desserts having a wild party in your mouth. We’re talking cookie dough on the bottom, Oreos in the middle, and brownie batter on top. It’s pure chaos in the best possible way, and honestly? They live up to the name—because these brownies are easy, require zero commitment, and everyone wants a piece.
Table of Contents
Why This Slutty Brownies Recipe is Awesome
Let me be real with you: Slutty Brownies are basically foolproof. If you can open a package of Oreos and mix some batter, you’re qualified to make these. There’s no fancy technique, no tempering chocolate, no worrying about whether your layers are perfectly even. You literally just stack everything in a pan and bake. That’s it.
But here’s the kicker—they taste like you spent hours in the kitchen. The combination of textures is absolutely insane: chewy cookie base, crunchy Oreo middle, and fudgy brownie top. It’s like someone took all your favorite desserts and said, “What if we just… put them all together?”
These Slutty Brownies are also perfect for literally any occasion. Birthday party? Check. Bake sale? You’ll sell out in minutes. Random Tuesday because you had a rough day? Absolutely valid. Need to impress someone? Slutty Brownies have never let anyone down.
And let’s talk about the name for a second. Sure, it’s cheeky and maybe a little controversial, but it’s also memorable. Nobody forgets Slutty Brownies. You say the name once, and people are immediately intrigued. It’s marketing gold, honestly.
Ingredients You’ll Need
For the Cookie Layer:
- 1 box chocolate chip cookie mix (or your favorite homemade cookie dough recipe—about 16 oz)
- Ingredients listed on the cookie mix box (usually butter, eggs, etc.)
For the Oreo Layer:
- 1 package regular Oreos (about 15-18 cookies, depending on pan size)
For the Brownie Layer:
- 1 box brownie mix (or homemade brownie batter—about 18 oz)
- Ingredients listed on the brownie mix box (usually oil, eggs, water)
Pro tip: You can absolutely make everything from scratch if you’re feeling ambitious, but boxed mixes work perfectly fine and nobody will judge you. Actually, scratch that—use the mixes and save yourself the hassle.
Step-by-Step Instructions
1. Preheat and Prep
Crank your oven to 350°F. Grease a 9×13 inch baking pan or line it with parchment paper. Don’t skip the greasing—you’ll thank me later when these actually come out of the pan without a fight.
2. Make the Cookie Dough Layer
Prepare your cookie dough according to package directions (or use your homemade recipe). Press the dough evenly into the bottom of your prepared pan. It doesn’t have to be perfect, but try to get it relatively flat and covering the entire bottom. Use your hands or a spatula—whatever works.
3. Add the Oreo Layer
This is the fun part. Take your Oreos and arrange them in a single layer on top of the cookie dough. You can keep them whole or twist them apart if you want more cream showing. Place them close together but don’t stress about gaps—the brownie batter will fill in everything.
4. Prepare the Brownie Batter
Mix up your brownie batter according to package directions. Pour it over the Oreo layer, making sure to cover all the cookies. Use a spatula to spread it evenly and get into all the corners. The batter might seem thin at first, but it’ll puff up as it bakes.
5. Bake to Perfection
Pop the whole thing in the oven and bake for 45-50 minutes. You’re looking for the brownie layer to be set and a toothpick inserted in the center to come out with just a few moist crumbs. Don’t overbake—you want fudgy brownies, not dry ones.
6. Cool and Cut
Here’s where patience is required (I know, it’s torture). Let the brownies cool in the pan for at least 30 minutes, then refrigerate for another hour if you can wait that long. Cold brownies cut much cleaner than warm ones. When you’re ready, slice them into squares and prepare for the compliments to roll in.
Common Mistakes to Avoid
Overbaking these bad boys. The layers are thick, so it takes a while to bake through, but keep an eye on that brownie top. Once it’s set and slightly crackly, you’re done. Nobody wants a dry brownie situation.
Not letting them cool completely. I know you want to dive in immediately (same), but warm Slutty Brownies are a hot mess—literally. They’ll fall apart when you try to cut them. Give them time to set up in the fridge, and you’ll get nice, clean slices.
Using a pan that’s too small. These brownies are THICK. If you try to cram everything into an 8×8 pan, you’ll end up with raw centers or burnt edges. Stick with a 9×13 inch pan for best results.
Forgetting to grease the pan. Trust me, you don’t want to be that person trying to chisel brownies out of the pan with a spatula. Grease it well or use parchment paper with overhang for easy removal.
Alternatives & Substitutions
Want to get creative? Try different cookie doughs—peanut butter, sugar cookie, or double chocolate all work great. You can even use store-bought cookie dough if you’re really short on time.
Switch up the Oreos. Golden Oreos, Mint Oreos, Peanut Butter Oreos—go wild. Each variety gives you a slightly different flavor profile, and they’re all delicious.
For the brownie layer, feel free to use your favorite recipe or mix. Ghirardelli makes an excellent boxed mix if you want something a step above the basic stuff. Some people even add chocolate chips to the brownie batter for extra indulgence (as if these needed more).
Gluten-free? Use gluten-free cookie and brownie mixes. The structure holds up just fine with GF alternatives.
Want to make these even more over-the-top? Add a layer of peanut butter cups or Reese’s Pieces between the cookie and Oreo layers. Because why not, right?
Final Thoughts
Look, Slutty Brownies aren’t trying to be fancy or sophisticated. They’re unapologetically indulgent, ridiculously easy, and always a crowd-pleaser. They’re the dessert equivalent of wearing sweatpants to a party—comfortable, fun, and surprisingly well-received.
Whether you’re baking for a crowd or just really need some chocolate therapy, these Slutty Brownies have your back. Make a pan, cut them into huge squares, and watch them disappear faster than you can say “food coma.” You’re welcome.
FAQ (Frequently Asked Questions)
Can I make these ahead of time?
Absolutely! In fact, they’re often better the next day. The layers have time to set and the flavors meld together beautifully. Store them in an airtight container at room temperature for 3-4 days, or refrigerate them for up to a week. You can also freeze them for up to 3 months—just wrap individual pieces in plastic wrap and thaw when the craving hits.
Why are they called Slutty Brownies?
The name comes from the idea that they’re “easy” and have “lots of layers”—it’s a cheeky, tongue-in-cheek name that stuck because it’s memorable. If the name makes you uncomfortable, feel free to call them Triple Layer Brownies, Ultimate Brownies, or whatever you want. They’ll taste just as amazing regardless.
Can I use homemade cookie dough and brownie batter instead of mixes?
Of course! Homemade versions work perfectly. Just make sure your cookie dough and brownie batter quantities roughly match what the box mixes would give you (about 16 oz cookie dough and 18 oz brownie batter). The baking time might vary slightly, so keep an eye on them.
How do I know when they’re done baking?
The brownie layer on top should look set and maybe have a few small cracks. A toothpick inserted into the center should come out with a few moist crumbs—not wet batter, but not completely clean either. Remember, they’ll continue cooking a bit as they cool, so slightly underdone is better than overbaked. When in doubt, take them out and let them finish setting up in the fridge.
Mouthwatering Slutty Brownies Recipe
Course: DessertCuisine: AmericanDifficulty: EasyServings
16
browniesPrep time
15
minutesCooking time
50
minutesCalories
380
kcalTotal time
1
hour5
minutesIngredients
- For the Cookie Layer:
1 box chocolate chip cookie mix (16 oz)
Ingredients listed on cookie mix box (usually butter and eggs)
- For the Oreo Layer:
15-18 regular Oreos
- For the Brownie Layer:
1 box brownie mix (18 oz)
Ingredients listed on brownie mix box (usually oil, eggs, and water)
Directions
- Preheat and Prep: Preheat oven to 350°F. Grease a 9×13 inch baking pan or line with parchment paper.
- Make the Cookie Dough Layer: Prepare cookie dough according to package directions. Press evenly into the bottom of prepared pan.
- Add the Oreo Layer: Arrange Oreos in a single layer on top of cookie dough, placing them close together.
- Prepare the Brownie Batter: Mix brownie batter according to package directions. Pour over Oreo layer and spread evenly to cover all cookies.
- Bake: Bake for 45-50 minutes until brownie layer is set and a toothpick inserted in the center comes out with a few moist crumbs.
- Cool and Cut: Let cool in pan for 30 minutes, then refrigerate for 1 hour. Cut into squares and serve.
Notes
- Don’t overbake—keep the brownies fudgy, not dry. Check at 45 minutes and look for a set brownie top with a toothpick that has moist crumbs, not wet batter.
- Let them cool completely before cutting for clean slices. Refrigerating for at least an hour helps the layers set and makes cutting much easier.
- Use parchment paper with overhang for easy removal. This allows you to lift the entire brownie slab out of the pan for perfect, professional-looking cuts.